 Forton Furniture
Forton Furniture
Forton Furniture
As the trend of flat-pack furniture continues to rise, many individuals seek ways to enhance their DIY skills. According to a recent report by the Furniture Industry Association, 70% of consumers opt for flat-pack solutions due to their cost-effectiveness. However, a significant portion also struggles with assembly, leading to frustration. This brings us to the crucial question: how to assemble a flat-pack wardrobe alone.
Jeff Anderson, a noted expert in home organization, states, "Mastering furniture assembly can transform your space and your confidence." His insights underline the importance of learning the proper techniques for tackling flat-pack projects independently.
Understanding how to assemble a flat-pack wardrobe alone not only saves time but also cultivates a sense of accomplishment. Each step provides an opportunity to enhance your skills. Messy instructions often lead to errors. You may need patience when parts don't align. Learning from these challenges can result in a more rewarding experience. Embrace the imperfections and grow from them, as success in DIY assembly can be a valuable asset in any homeowner's toolkit.
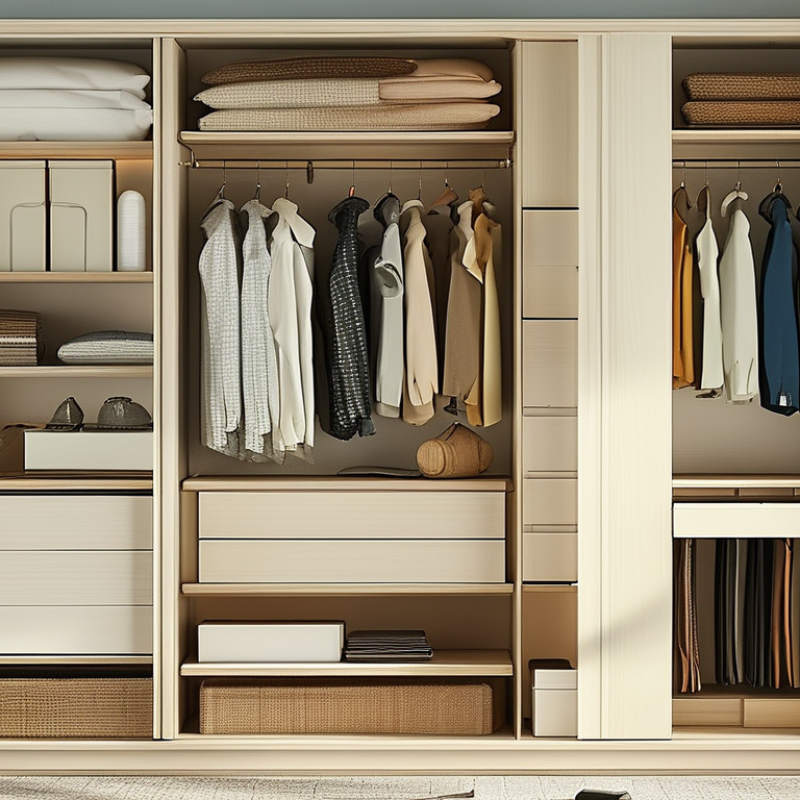
When assembling a flat-pack wardrobe, understanding its components is crucial. Typically, these wardrobes include panels, shelves, screws, and special fittings. Research indicates that over 70% of consumers struggle with assembly due to missing parts or unclear instructions. Knowing what you have in hand makes a big difference.
Measure your space before unpacking. Often, users overlook the importance of dimensions. According to a recent report by the Home Improvement Research Institute, planning before assembly can cut down frustration by 60%. You might find extra dowels or screws—this isn’t uncommon. Many brands include spare parts for this exact reason.
Check for chipping or scratches on the panels. Small defects can escalate problems later. If a panel looks damaged, it could impact stability. Consider investing in a level; uneven surfaces can lead to larger issues in the long run. Remember that your hands-on experience can bring unexpected challenges. Accepting these hurdles will make the assembly smoother.
| Component | Description | Quantity | Assembly Steps |
|---|---|---|---|
| Side Panels | Vertical panels that form the sides of the wardrobe. | 2 | Attach to the base and top. |
| Top Panel | Horizontal panel that supports the structure from above. | 1 | Screw to the top of the side panels. |
| Bottom Panel | Provides stability and support at the base. | 1 | Align and secure to the side panels. |
| Shelves | Horizontal surfaces for storage within the wardrobe. | 3 | Insert into shelf pins at desired heights. |
| Doors | Encloses the wardrobe and provides access to the interior. | 2 | Attach hinges to the side panels and connect the doors. |
| Fasteners | Includes screws, dowels, and bolts necessary for assembly. | Varies | Use as per instructions for each component. |
: You will need a screwdriver, hammer, level, and pliers. A clean surface is also important.
Use small containers or bags to store screws and fittings. This prevents confusion and saves time.
Check for an even floor or minor defects. Adjust components carefully to avoid gaps.
Secure screws firmly but avoid overtightening. Use wall anchors for additional safety if necessary.
Regular maintenance can extend the lifespan by up to 25%. It helps keep the wardrobe stable and looking fresh.
Add felt pads under the legs. This simple step protects your floor from scratches.
Use wood polish every few months. This protects the finish and enhances the look of the wood.
Aim for humidity levels between 30-50%. This helps prevent warping and other damage to the wood.
Embrace these quirks as character. Minor repairs can transform them into unique features.
Mix heavier and lighter items to balance the load. This helps maintain stability over time.
When learning how to assemble a flat-pack wardrobe alone, it's crucial to first understand the components included in the package. Familiarizing yourself with each piece will simplify the assembly process. Next, gather the necessary tools and materials, such as a screwdriver and a hammer, to ensure a smooth experience.
Following step-by-step instructions for assembly is essential, allowing you to put the wardrobe together systematically and efficiently. Once the structure is in place, securing and stabilizing the wardrobe will enhance its durability and safety. Finally, completing those finishing touches and knowing the maintenance required will prolong the wardrobe's lifespan and keep it looking great. With these easy steps, anyone can successfully assemble a flat-pack wardrobe on their own.
